Moving a washing machine sounds simple — until you actually try it.
It’s heavy, awkward, and full of parts that can get damaged if not handled the right way. Whether you’re shifting houses or rearranging your laundry room, knowing how to move a washing machine safely can save you time, money, and a lot of frustration.
This step-by-step guide by Melbourne Cheap Movers explains everything you need to do — before, during, and after the move — so your washing machine reaches your new home without a scratch.
The secret to a smooth move starts long before you lift the machine. Preparation is what keeps your washing machine clean, dry, and damage-free.
Before you even think about moving, make sure your washing machine is completely empty.
Then, run one empty wash cycle with bleach or white vinegar to clean out leftover detergent and remove smells.
This simple step prevents mould and odour during transport.
Once the cycle ends, leave the door open for 24 hours to air dry. A completely dry drum prevents water leaks and internal rusting while moving.
Next, turn off the water supply valves (usually located behind your washer).
Unplug the power cord from the wall and gently disconnect the water inlet hoses.
Keep a towel handy — a little water may spill out when detaching hoses.
You can store the hoses inside a plastic bag or wrap them in a cloth so they don’t leak during transport.

Your washing machine’s drum is its most delicate part.
If it’s left loose during transport, it can bounce and cause internal damage.
That’s why most machines come with transit bolts — long metal rods that hold the drum steady.
Find them (they usually came with your washer) and screw them into the holes at the back of the machine.
If you’ve misplaced them, don’t panic — you can use blankets or foam inside the drum for cushioning.

Wrap the washing machine in moving blankets or bubble wrap to prevent scratches and dents.
For extra protection, tape cardboard sheets to the corners and sides.
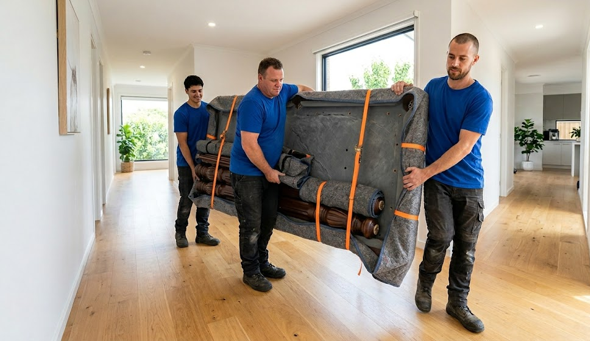
If you’re using professional movers, let them know the machine needs to be handled upright and not tilted too much — that keeps the internal parts safe.

Tape the power cord and hoses neatly against the back of the machine.
Loose wires or hoses can easily trip someone or get caught under furniture while moving.
Keep everything tight and tidy — it’ll make lifting easier later.
Once your washing machine is clean, dry, and packed — it’s time for the real move.
This is where careful handling matters most.

Washing machines are heavy — usually between 60 to 90 kilos — so never try to lift one alone.
Instead, slide an appliance dolly (or moving trolley) underneath.
Use straps to keep it firmly in place. This helps you move the washer easily and avoids back injuries or floor damage.
Always move the washing machine in an upright position.
Tilting or laying it sideways can cause fluid leaks or damage to the suspension system inside the drum.
If stairs are involved, move slowly and have someone guide from the top while another person balances the dolly from below.
Measure doorways, hallways, and tight corners before moving.
You don’t want to get stuck halfway through.
If space is tight, remove doors temporarily or angle the dolly slightly to slide the washer through without bumping walls or handles.
Take your time — rushing increases the risk of scratches or damage.

When loading the washing machine into a van or truck, always position it upright against a wall or seat.
Then, use moving straps or ropes to secure it tightly.
This prevents the washer from sliding or tipping over when the vehicle moves or brakes.
For extra safety, add soft padding or blankets around it to absorb vibrations during the trip.
You’ve reached your new home — now it’s time to set up your washing machine correctly.
Remove all the protective blankets, bubble wrap, and tape.
Avoid using sharp blades near the machine’s surface — they can scratch the paint.
Gently move the washer near its new spot, keeping it upright.
Before plugging it in, inspect the washing machine for dents, cracks, or leaks.
If you notice any, don’t use it immediately — it could make things worse.
Instead, contact a technician or your mover’s insurance company if damage occurred during transit.
A washing machine must sit level and stable on the floor.
Even a small tilt can cause excessive noise, vibration, and drainage issues during washing.
Adjust the small feet at the bottom until it feels even.
You can place a spirit level (or smartphone level app) on top to check.
This is one of the most common mistakes people make.
If you installed transit bolts earlier, remove them before starting your first wash cycle.
If left in, they’ll cause loud banging noises and can permanently damage the drum.
Once removed, store the bolts safely — you’ll need them again for your next move.
Now reconnect the hoses to your water supply — hot and cold.
Make sure the seals are tight to prevent leaks.
Then plug in the power cord and run a short rinse cycle to test everything.
Check if the water flows in and drains out smoothly.
If you see leaks or unusual noises, turn it off and inspect the connections.

When it comes to moving a washing machine, one of the biggest questions people face is,
should you do it yourself or call professional movers?
Both options have their pros and cons, and the best choice depends on your time, experience, and how much risk you’re willing to take.
If you’re confident with tools and have a helping hand, moving your washing machine on your own can be done safely — as long as you follow the right steps.
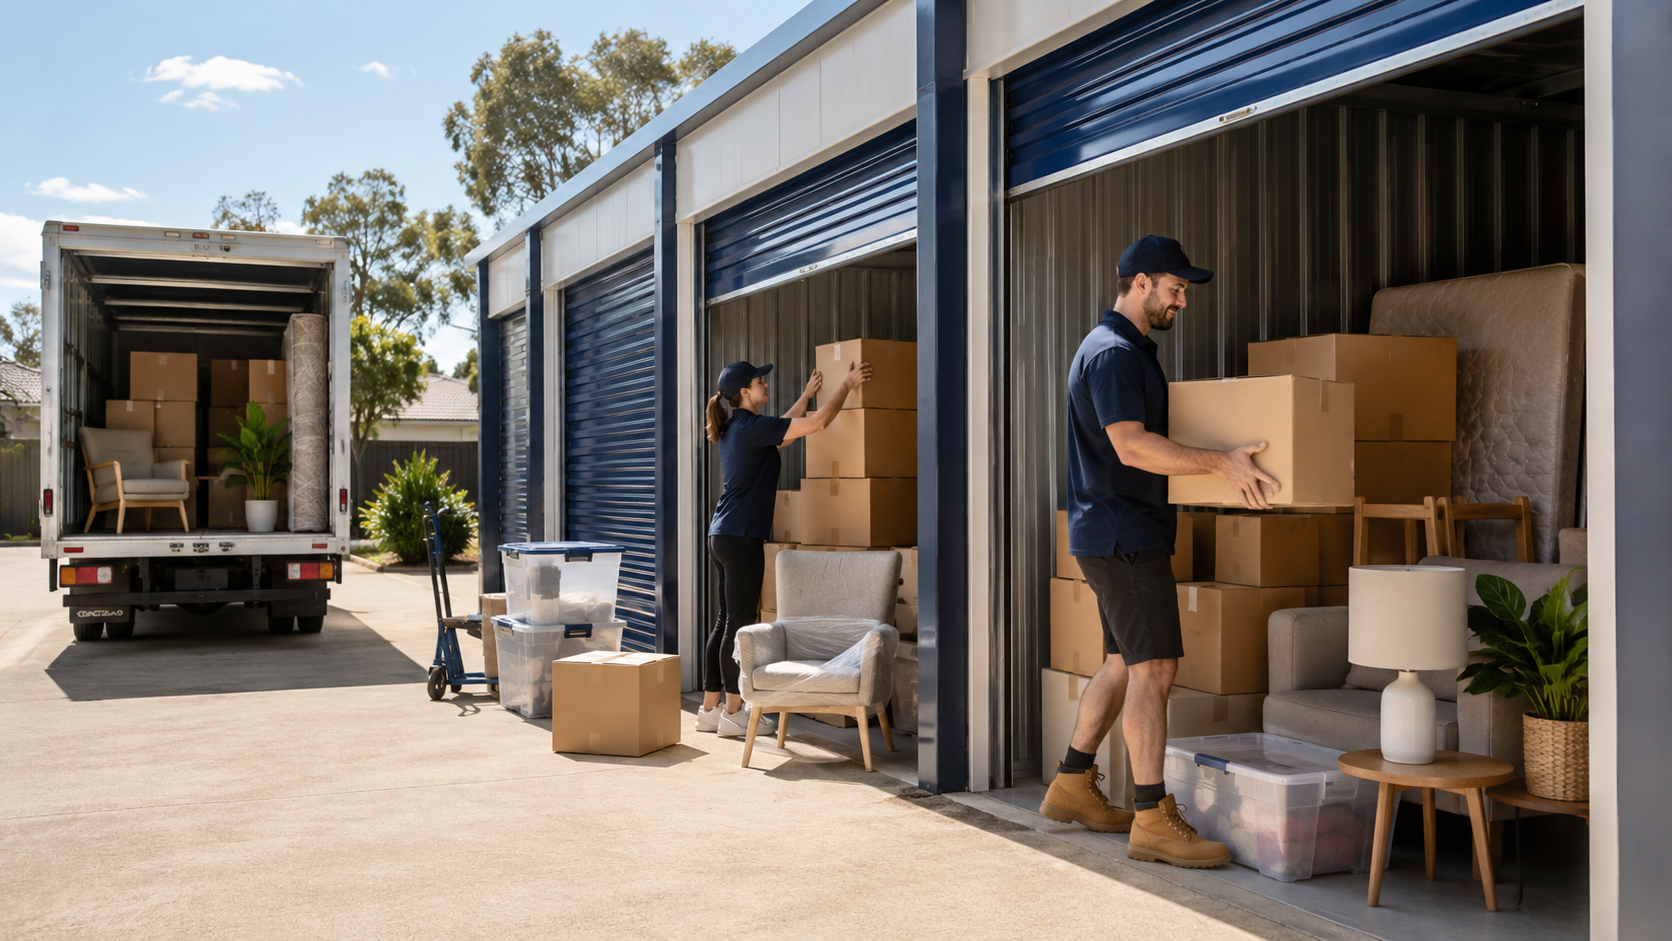
If you want peace of mind and a damage-free move, professional movers are worth considering.
They have the tools, training, and experience to handle large appliances like washing machines safely.
A washing machine isn’t just another appliance — it’s one of your most-used essentials.
Even minor mishandling can lead to broken hoses, unbalanced drums, or leaks, costing hundreds in repairs.
Taking a few extra minutes to prepare it properly can make all the difference between a smooth setup and a stressful disaster.
Moving a washing machine isn’t just about muscle — it’s about method and care.
With the right preparation, tools, and a little patience, you can move your washer safely without needing a repair technician later.
First, clean and dry it, secure the drum, and wrap it for protection.
Then, keep it upright during transport and reinstall it properly at your new place.
Following these simple steps prevents leaks, vibration, and costly repairs — helping your washing machine stay strong, clean, and ready for the next spin in your new home.
If you’re unsure or short on time, professional movers who specialise in appliance relocations can handle everything — from disconnection to installation — ensuring your washing machine stays in perfect working order.
Because at the end of the day, your washing machine deserves the same care it gives your clothes — clean, safe, and well-handled.
LOCATIONS & SUBURBS
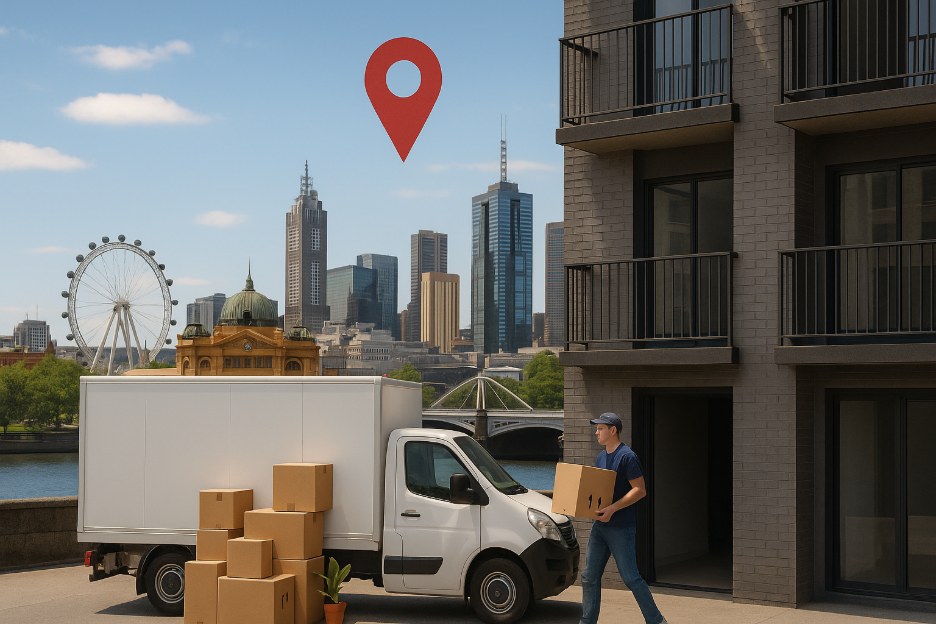
From moving houses to office relocation services in records time, we’ve got the lowest removalist costs in Melbourne – Book your next move with us online today! For our interstate removalists – try Move4Cheap!
© Copyright 2024 - Melbourne Cheap Movers - All Rights Reserved | Designed, Marketing & Managed by Crazy Rise